

To loop a video in After Effects: right-click the layer, select Time > Enable Time Remapping, add a keyframe at the last frame of your footage, delete the auto-created keyframe at the out-point, then apply the expression loopOut(type = "cycle") to the time remap property. The footage will loop seamlessly for the full duration of your composition.
This guide covers the three methods for looping video in After Effects — time remapping with expressions, the loopOut expression on a solid, and the Cycle Range method — along with how to set composition duration correctly so your loops play as intended.
Method 1: Time remapping with loopOut (recommended)
This is the most flexible method and gives you full control over loop timing.
Step 1: Import and place your footage
Import your video file via File > Import > File or drag it into the Project panel. Drag the clip to the timeline to create a layer.
Step 2: Trim to the loop point
Before adding the loop, identify the exact frame where the loop should end. Trim the footage out-point to that frame. For a clean loop, the first and last frames of your footage should be visually identical or close enough that the cut is invisible.
Step 3: Enable Time Remapping
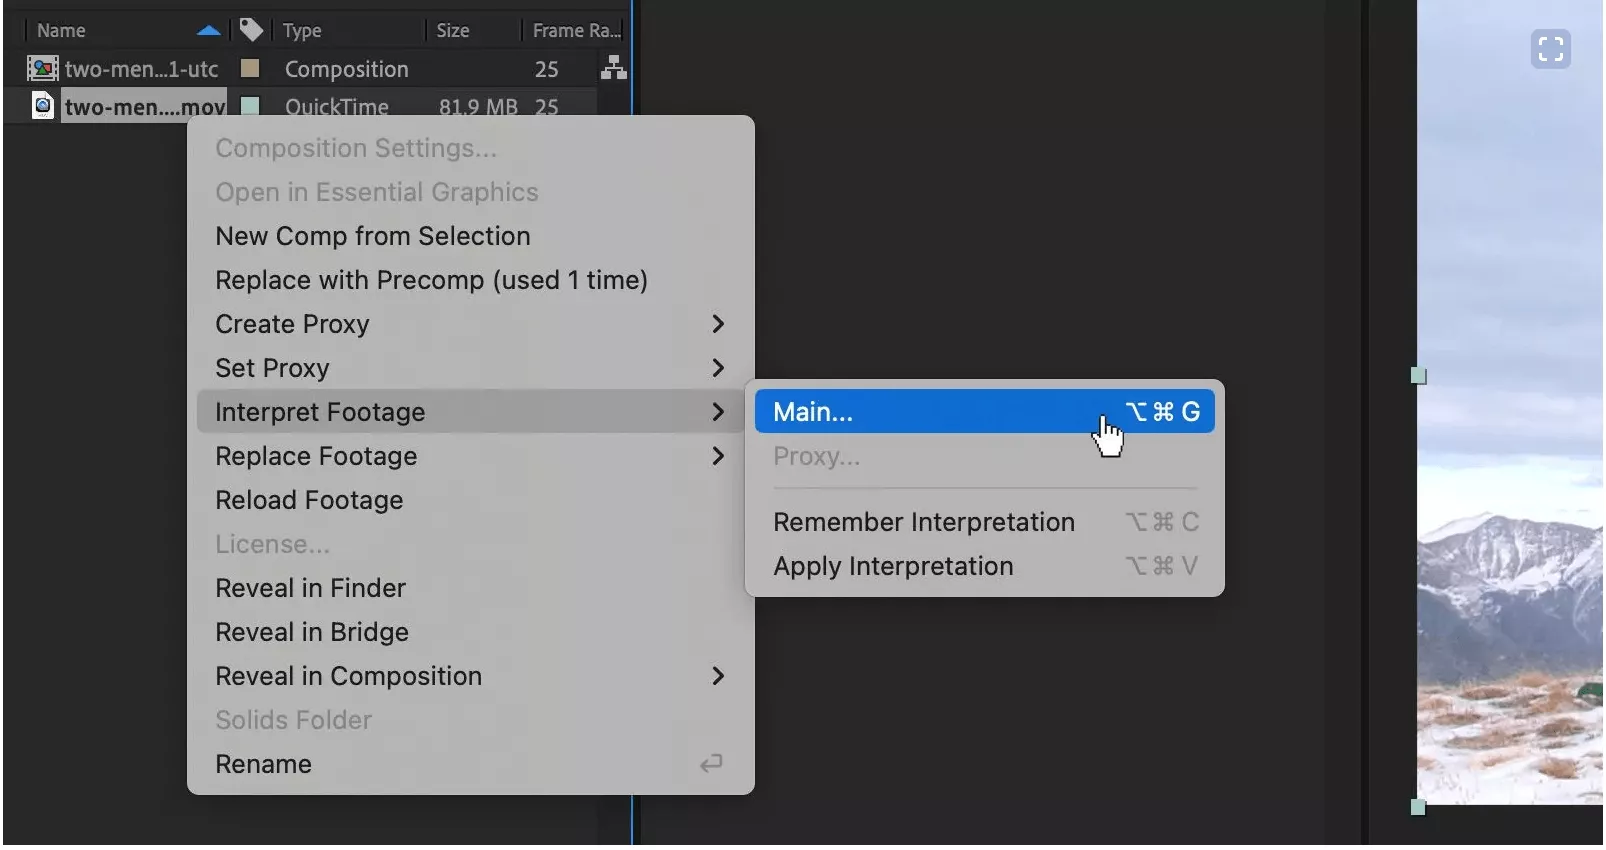
Right-click the layer in the timeline and select Time > Enable Time Remapping (or press Cmd+Alt+T / Ctrl+Alt+T). Two keyframes appear automatically: one at the start and one at the end of the layer.
Step 4: Add a keyframe at the last frame
Move the playhead to the last frame of the footage (one frame before the out-point). Press Cmd+Alt+T / Ctrl+Alt+T again to add a keyframe at this position. This captures the actual last frame of the video.
Step 5: Delete the out-point keyframe
Click the keyframe at the very end of the layer (the one After Effects placed automatically at the out-point) and delete it. You now have two keyframes: the in-point and the last frame of your footage.
Step 6: Apply the loopOut expression
Alt+click (Option+click on Mac) the stopwatch icon on the Time Remap property. This opens the expression field. Type:
loopOut(type = "cycle")
Press Enter. The footage will now loop continuously from in-point to the last frame keyframe for the duration of the composition.
Step 7: Extend the layer
Drag the layer’s out-point to the end of the composition (or press Cmd+Option+Right Arrow to extend to the comp end). The loopOut expression handles the looping — the layer just needs to be long enough to cover the desired duration.
Method 2: Cycle via the Layer settings (quick method)
For simple loops where you don’t need expression control, After Effects has a built-in layer loop option.
- In the timeline, click on the layer
- Go to Layer > Time > Enable Time Remapping
- Right-click on the Time Remap keyframe graph and look for Loop Options (available in some versions)
Note: This method gives less control than the expression approach. For complex motion graphics work, Method 1 is preferable.
Method 3: Duplicate and stitch
For footage that doesn’t loop cleanly at its natural in/out points — or when you need to create a loop from non-loopable footage — the simplest approach is to:
- Duplicate the layer several times on the timeline
- Offset each duplicate to follow immediately after the previous one
- Pre-compose the sequence if needed
This is a brute-force method that works for any footage regardless of content. The downside is a larger project file and less flexibility if you need to change the duration later.
Setting the right composition duration
Getting composition duration wrong is one of the most common causes of rendering problems and unexpected loop behavior. Here’s how to set it correctly.
How composition duration affects looping
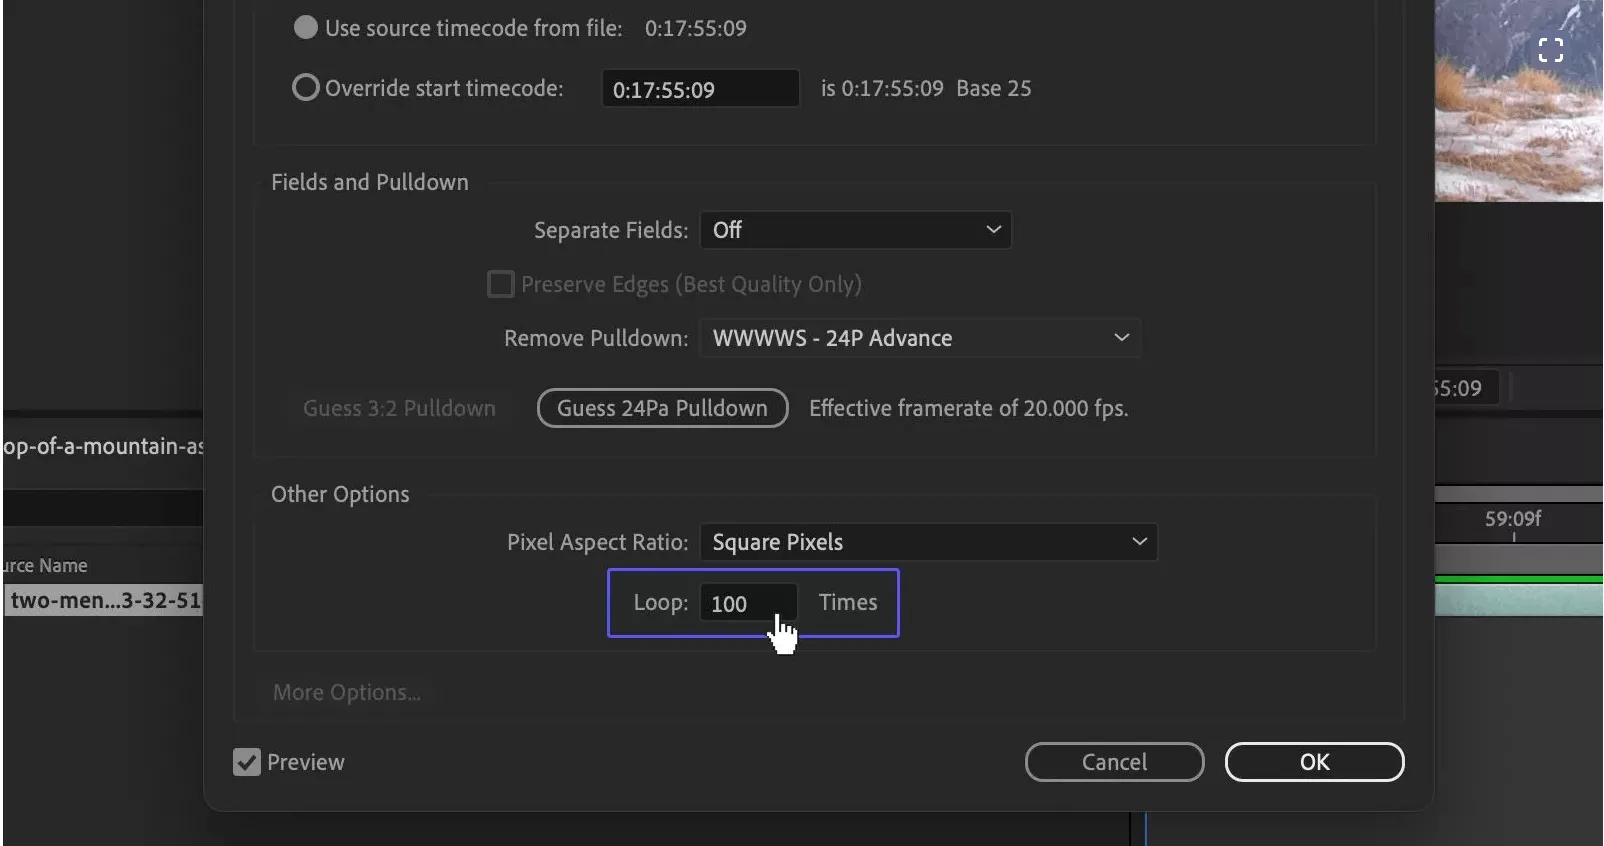
When you loop a video, the loop runs for the length of the composition. A 10-second composition with a 3-second loop will play approximately 3.3 full loops. A 30-second composition plays 10 full loops. Setting composition duration correctly means knowing how long you actually need the loop to run.
Changing composition duration
To change duration on an existing composition:
- Go to Composition > Composition Settings (or press Cmd+K / Ctrl+K)
- Change the Duration field to your target length
- Click OK
Or, create a new composition with the correct duration from the start: Composition > New Composition and set duration before adding any layers.
Duration best practices by use case
| Use case | Typical duration | Notes |
|---|---|---|
| Social media loop (Instagram, TikTok) | 3–15 seconds | Keep short; most platforms cap visible loop time |
| Website background video | 10–30 seconds | Long enough to feel continuous, short enough to keep file size manageable |
| Digital signage loop | 15–60 seconds | Depends on environment; 30 seconds is a common standard |
| Motion graphics element | Matches parent comp | Set to match the master composition you’ll nest it into |
| Broadcast bumper/ident | 5–10 seconds | Typically cut to music; set duration to match audio beat |
Matching composition duration to audio
For loops synchronized to music or sound design, set your composition duration to a musical measure or phrase length. A 4-bar musical phrase at 120 BPM lasts exactly 8 seconds. Looping a 8-second composition synchronized to a repeating 8-second music loop creates a seamless audio-visual loop with no drift.
To find the correct frame count:
BPM ÷ 60 = beats per second × frames per second = frames per beat × beats in your phrase = total frames
Example: 120 BPM, 24fps, 4 bars of 4/4 time:
120 ÷ 60 = 2 beats/second × 24 = 48 frames/beat × 16 beats = 768 frames = exactly 32 seconds
Set your composition duration to 32 seconds and it will sync to any loop of the same 4-bar phrase.
Looping text and motion graphics animations
The same loopOut expression works for motion graphics elements, not just video footage. Animating a text crawl, a repeating geometric pattern, or a motion loop background follows the same process:
- Create your animation keyframes across the desired single loop duration
- Pre-compose the animated layers
- On the pre-comp layer, apply Time Remapping with loopOut(“cycle”)
For motion graphics that repeat on a longer composition, this approach prevents you from having to duplicate keyframe sets manually.
Getting looped compositions reviewed and approved
After Effects animations often go through multiple rounds of review before final delivery — especially for client work, broadcast deliverables, or branded content.
Once you have a working loop exported from After Effects, the review process starts: sharing with directors, motion leads, clients, or brand stakeholders for feedback. The standard workflow (upload to Vimeo or Google Drive, collect comments via email) is slow and loses annotations between rounds.
Online proofing for creative teams gives stakeholders a direct link to leave frame-accurate, timestamped annotations on the exported video — exactly at the frame they’re referencing. For looped compositions, annotations at “3:14” are immediately understandable because the reviewer is commenting at the specific point in the loop where the issue appears.
Video proofing built for production teams also tracks version history — version 1, version 2 after client feedback, version 3 after final approval — so you always know which export has been signed off.
For more complex projects that start at the pre-production stage, using an AI storyboard maker to align the client on the visual sequence before you animate can prevent expensive rework on the back end.
Common looping problems and how to fix them
The loop has a visible jump at the cut point.
The most common cause: your first and last frames aren’t identical, or your Time Remap keyframe isn’t placed at the correct last frame. Check that the keyframe sits at the last actual frame of the footage, not one frame past it. Also check that no motion blur or glow effects are creating a visual discontinuity at the loop point.
The loop plays once and stops.
You deleted both keyframes instead of just the out-point keyframe, or the loopOut expression has a syntax error. Make sure the expression reads loopOut(type = "cycle") and that you have at least two keyframes on the Time Remap property.
The layer plays to the end of the footage and then goes black.
The layer isn’t extended past the original footage duration. After applying the loopOut expression, drag the layer’s out-point to the end of the composition.
The loop plays but audio doesn’t loop.
Time remapping only affects the video track. Audio follows the original layer duration and doesn’t loop automatically with the expression. For looping audio, use the audio layer separately with its own loop approach (or use a composition pre-render that includes both video and looped audio baked together).
Conclusion
Looping video in After Effects is a two-step process: enable Time Remapping, then apply the loopOut(type = "cycle") expression. Set your composition duration to match the intended playback length and make sure the layer is extended to cover it. The method works for both footage and motion graphics animations.
For composition duration, match to the use case — social media loops, website backgrounds, and broadcast bumpers each have their own duration conventions. When synchronizing to audio, calculate duration from BPM to ensure perfect musical alignment.
Working on After Effects projects that need client review? Try Krock.io free — share a review link, get frame-accurate feedback, no credit card required.