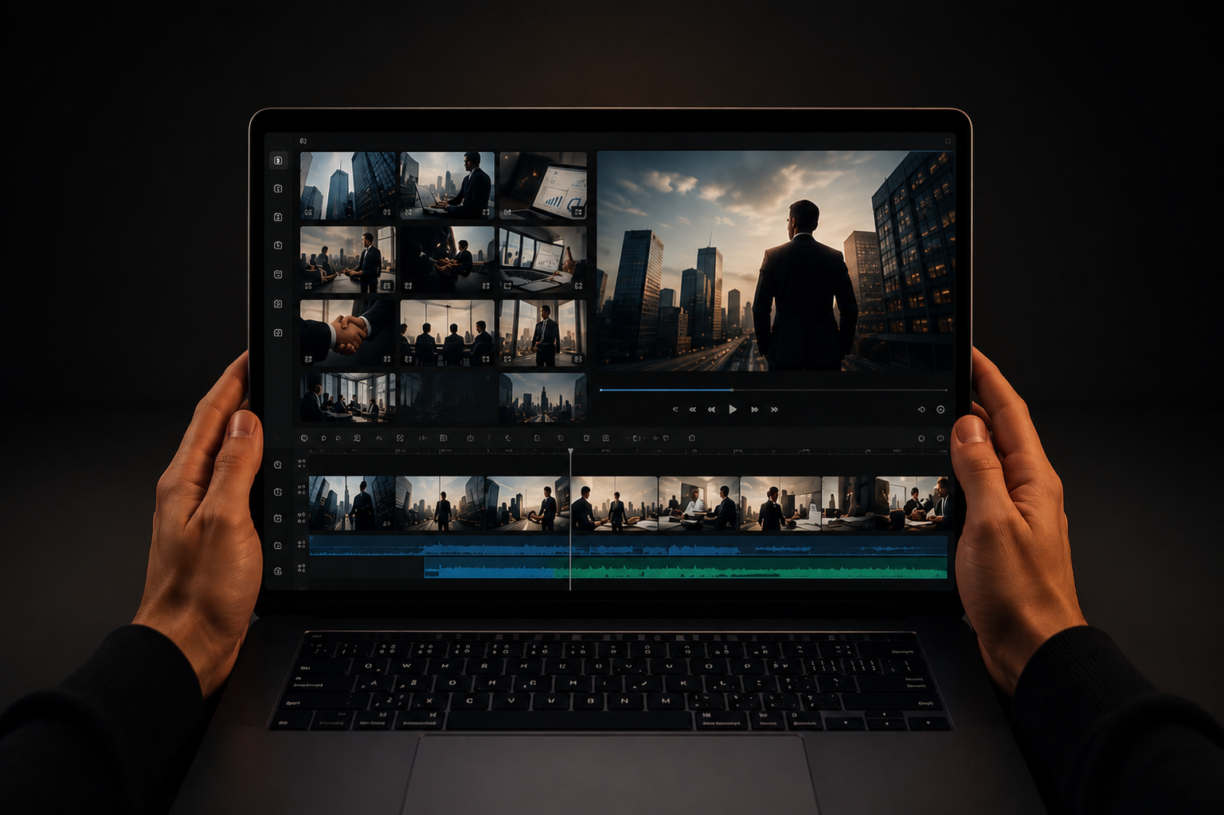


Usually, by the point the footage has reached the timeline, the delay has already occurred: lack of foresight, too many close-but-not-quite clips, undecided exporting format, and unclear message to viewers.
This is exactly the solution to the problem of how to edit a video quickly in 2026: reduce number of decisions to be made. Fast editing has a specific goal, limited resources, and early rough cut. But it needs taste, it needs revision. The difference is that less minor questions distract from the main process.
This kind of pressure also becomes evident in more recent B2B content marketing benchmarks, in which video is still high on the list of planned investments.
Technology plays its part as well. AI subtitles, background removal, silence detection, re-framing, and transcription-based editing are among those tools that shave hours off common video-related processes. Automation can generate the less interesting parts of the video. The editor makes the final decision on what goes into the final cut.
Decide What the Viewer Should Get From the Video
People wondering how to make videos faster tend to open the editor too early. Fast video requires viewer goals setting first.
Write one sentence at the very beginning of the project notes:
“This video should help the viewer understand __ and do __.”
In case of product video it could be something like “This video should explain how this feature works and make viewers click the trial page.” For a tutorial, it would look like “This video should teach one thing and make viewers start the first step.”
All the nice things are very easy to preserve for the wrong reasons. Side comment, visually appealing B-roll or additional introduction seems absolutely innocent alone. But all together they drive the viewer further away from their goal.
The brief of a video consists of four things:
- Main idea
- Final platform
- Time range
- One action to take after watching
Place the brief at the top of your project notes and consult it while cutting. Everything which doesn’t fit the sentence should be cut away from the main story. Doubtful scenes can be placed into the special bin marked “maybe” instead of staying on the timeline.
Use the 20-Minute Rough-Cut Rule
Make the first rough cut quickly, even if it looks rough. A slow first assembly often turns into a slow whole project.
Set a timer for 20 minutes and make a version that answers one question: does the video make sense from beginning to end?
Follow these simple steps:
- Minutes 0–5: Arrange the best spoken words/shots in the right order.
- Minutes 5–10: Remove any unnecessary beginnings and repetitions, and unusable audio.
- Minutes 10–15: Add whatever footage is necessary to convey the message.
- Minutes 15–20: Put markers on the places where the edit should have text, music, or B-roll.
Avoid fixing captioning, coloring, animated title, and other minor things at this stage. The work feels productive but delays the most important decision — what should be included in the video?
Rough cut is a map. It reveals missing elements, weak spots, and wrong pacing. After this map is made, it becomes much easier to evaluate all the rest.
How to Start Video Editing When the Footage Is Messy
The distracting footage costs time through small interruptions. The editor opens the wrong shot, looks for the good line, and reviews the same shot again since all file names look similar.
Below is how to start video editing on a messy project:
- Create six folders: Footage, Audio, Music, Graphics, Exports, and Review.
- Place only those files into the project folder which were approved.
- Name the important clips like “intro_take_2,” “demo_closeup,” “reaction_good.”
- Instead of deleting the bad shots, mark them with “x” at the beginning of the filename.
- Create a “selects” sequence and place there the best moments.
A “selects” sequence transforms the messy folder into a more manageable collection. After the best moments are grouped together, there is less searching and fewer accidental detours into bad takes.
In the case of interviews or tutorials, select only the lines which could be removed if necessary. Otherwise, the markers will be useless for sorting.
Use Four Separate Editing Passes
Trying to tackle all problems simultaneously will slow down the process. Each pass should answer one question.
Pass 1: Story
Is there any room for confusion? Is the start of the video close to the point? Is the end clear about what comes next?
This is the stage to get rid of all the repetition because repetition is the fastest way to make ashort video seem boring.
Pass 2: Rhythm
View the raw cut at normal speed. Clean up any accidental silence, but leave some space after information that’s more densely packed.
In a talking head video, you can leave some room after long sentences. If every inhale and half-second pause disappears, the speaker will begin to sound rushed.
Pass 3: Text and Captions
Insert captions only once your spoken version is finalized. Making early captioning decisions results in unnecessary rework.
Verify proper spelling for names, numbers, acronyms, and product mentions manually. Automatic transcription is quick and efficient, but a person must check for unusual names.
Pass 4: Finish
Now fix color balance, audio level, add music, title style, and adjust export settings. Professional-looking videos require that editing, sound, and framing do not distract from the message.
Tips That Cut Revision Time
A lot of editing time disappears during review. The first export gets comments, the second export gets comments on the comments, and the third export reveals a problem that was visible from the beginning.
That is also why approval delays matter in video marketing: every unclear comment adds another export, another check, and another pause before the video can go live.
Use a short pre-export checklist:
- Does the first line begin near the topic?
- Is the loudest audio section still comfortable?
- Are captions readable on a phone screen?
- Does every on-screen word match the voice?
- Is the frame correct for the final platform?
- Is the export name dated and versioned?
- Did one person approve the order prior to detailed styling?
The last point matters. Styling a video with an unapproved order creates double work.
One more habit saves review time: write what kind of feedback is needed. Ask reviewers for story notes on version one, factual corrections on version two, and final approval on version three. Open-ended comments at every stage turn the edit into a loop.
Top Tools to Use in 2026
The top editing tool is the one that removes the delay you face most often. For some projects, that delay is captions. For others, it is review, silence removal, background cleanup, or finding quotes in a long recording.
Movavi Video Editor
For a beginner trying to finish a video the same day, Movavi Video Editor lowers the initial setup time. The whole product idea is to help create awesome videos easily: the editor should feel understandable from the first project, not after a week of learning menus.
The one-click AI features make a difference. Background removal can clear a distracting room behind a presenter or product shot. Automatic subtitles prepare spoken tutorials and voiceovers. Auto-tracked cropping converts the video horizontally to vertically without losing the subject.
The timeline is drag-and-drop. There are basic controls for cut, crop, title, filters, subtitles, and export. It makes the process easy at the beginning of the learning period.
The main pitfall is decoration creep. Pick one title style, one caption style, and one transition rule. Movavi has plenty of effects, but the key lies in doing it quickly.
Descript
Descript modifies a spoken video through editing the transcript, which is the key editing layer. Delete a repeated phrase in the text, and the matching audio/video sections change as well.
This tool is suitable for podcasts, webinars, interviews, and recording courses. Filler-word recognition can remove little speech hiccups like “um” or “you know,” yet each cut done automatically must be listened to once more.
Descript has the best capabilities during the script phase of a spoken edit. Once the speaking format is ready, a lot of people put that into a different editor for a visual side.
CapCut
The app uses templates, mobile-friendly editing tools, and captioning features that can help edit social short videos efficiently. It allows users to create vertical posts from their videos quickly.
The problem is homogeneity. Templated-based edits may become similar when the same animations, intros, or stock-style text appears across several clips. In other words, use templates to edit the video faster, but edit some of its elements to make the video relate to the actual video.
The app is best used when the video is already quite short.
Adobe Premiere Pro
Premiere is a rightful part of more extensive production processes such as interview videos, brands’ promotions, joint editing, and everything that relates to other Adobe applications.
Text-based editing is the speed. With this feature, one can transcribe all the verbal information into a script, and then the editor will be able to search, delete, copy, and cut out the text.
Mind the preparation part since it might take more time than editing itself. However, in case of collaboration and lots of media, the investment will be worthwhile.
DaVinci Resolve
Think of DaVinci when you want professional tools for color, audio, and general editing all in one. Cut page is fast for building up footage, while the Edit page has the accuracy required once the basic structure is formed.
DaVinci Resolve 21 now adds a faster transcription for audio, better word timing for subtitles, and a Cut/Edit feature that selects all the transitions in the timeline or a selected range. These may appear as tiny details but have big differences on long interviews or cleanup of the timeline.
This program likes a prepared workflow. Create bins, make your selections, and think about the format of the timeline beforehand. Exploring all the panels randomly takes up the time.
Want estimate the editing time based on the price? Check out our guide on the cost of video editing.
Pitfalls That Make Video Editing Slower
Keeping Too Many “Maybe” Clips
“Maybe” clips are just decisions that need to be made. Have an aside bin for these and avoid constantly dragging them into the main timeline. Your rough cut should never become your storage bin.
Styling Captions Too Early
Subtitle design is satisfying but needs to happen only once your speaking edit has stopped changing. Anything else will mean that every cut necessitates re-caption timing.
Changing Format Late
A horizontally-edited video for YouTube could have essential visual information stripped off while being edited to vertical at the last stage. Decide on the final aspect ratio from the outset. If the project requires distribution across multiple platforms, complete the main version first and duplicate timelines for other formats.
Treating Music as a Repair Tool
Music might distract from a bad sequence for a couple of seconds but will never make up for repetition of ideas or poor pacing. Start by cutting, rethinking or shortening before adding music.
Exporting Only at the End
Get the rough draft exported early. Take a look at it away from your editor. Pacing issues reveal themselves more quickly in a player than in the timeline.
A 90-Minute Editing Sprint for a Short Video
Follow this pacing for a 60-90 seconds tutorial, product update, social media ad, or video insert put together from 8-15 minutes of raw footage.
The 90 minute timeframe does not refer to the final length. It presumes a basic edit with few cuts. A 60-second edit with ten captions and poor audio can still be more time-consuming than a three-minute talking head edit.
- 0:00–0:10: Write the pitch, choose the format, and set the length parameters.
- 0:10–0:25: Gather 8-12 cuts or lines of the transcript in the selects sequence.
- 0:25–0:45: Rough cut editing.
- 0:45–1:00: Rhythm optimization and adding only necessary b-roll or title placeholders.
- 1:00–1:10: Captioning and editing the text.
- 1:10–1:20: Fixing the audio levels, cropping, and adjusting the colors balance.
- 1:20–1:30: Exporting the file, reviewing on the smartphone, and passing the final pass.
This timetable makes sense only when the editor does not focus on styling in the first 60 minutes. The first attempt should prove the viability of the project. The last 30 minutes are for publishing it.
Takeaway
Fast editing is usually a matter of subtraction. A smaller clip pool, an early rough cut, delayed styling, and named feedback rounds remove most of the waiting inside the work.
What matters now is the set of tools that comes after the editor has already winnowed the footage and chosen the message. Leave all of the tedious chores to automation. Use your mind’s eye for something else.