From pre-production planning to post-production editing, video production can be a complex process. This guide will provide an overview of the essential steps for creating great video content and help you get started with your own projects.
No matter how experienced you are with video production, there’s always the question of how to get started and what steps need to be taken. Here is a step-by-step guide to video production to help guide you throughout the process:
- Establish the purpose of the video
- Define your target audience
- Plan out the project timeline
- Outline a script/storyboard
- Gather resources like equipment, actors, and locations
- Shoot your footage
- Edit and add post-production effects
- Publish your final product. Following these simple steps will ensure that you have a successful project!
Pre-planning your video production
What does pre-production mean?
Making a video can seem like a daunting task, but if you break it down step-by-step, it becomes much more manageable. Pre-production is the first and most important part of the process and includes activities such as brainstorming ideas, creating storyboards, scripting, casting, scouting locations and generating props.
Do you want to create a video production but don’t know where to start? This step-by-step guide will help you get started on your project. Begin with pre-planning for the video; this involves research and deciding on the overall look and feel of the production. Next, move into pre-production which includes scripting, storyboarding, and obtaining equipment and licenses. Lastly, during production, you will film and edit the video before finalizing it in post-production.
Video production is a complex process, but it can certainly be done step-by-step. The first step is to define the purpose of your video – what do you want to communicate and who do you want to communicate it to? Are there other types of content that could do this better than a video? After deciding on what type of video you would like, the next steps involve researching and developing an idea, pre-production (scriptwriting, storyboarding, etc.), filming/recording, post-production (editing, sound design, etc.), distribution for feedback, making any necessary changes or improvements based on feedback, and finally distributing it!
Before you jump into producing a video, consider how it fits into your overall content strategy. Do you need to produce a single video, or is it part of a larger campaign? Planning out the goals for the production ahead of time will help you ensure that you get the most bang for your buck. From there, you should be able to create an achievable timeline and guide for the project. Determine who will be responsible for each step of the process to stay organized and on track!
When it comes to video production, the first step is to decide on your budget, ambitions, and needs. This will set the tone for all other decisions about your project and help you create a realistic timeline for completion. From there, you can determine which type of videos will best fulfill your objectives: animation or live action. Do you need voiceover work? A soundtrack? Storyboard drawings? Will you be designing special effects or doing any editing post-production? Answering these questions will provide the framework for a step-by-step guide toward producing a must-see video!
Planning out a timeline for video production is the first step to creating a successful video. Establish when you want your video to be published and work backward, scheduling all other steps accordingly. Then, you can begin to plan the video’s content, assemble equipment, record the footage, and complete post-production tasks.
Creating an engaging video for your target audience starts by considering how they will watch the video. Is it meant to be viewed from smartphones or desktops, or internal network intranet? Once you have a plan of where the video will be distributed, you can begin the process of producing a great video: research, storyboard, scripting, and shooting.
Set your Objectives and Define Your Audience.
Before you even begin to plan the video production process, it is important to define your objectives and identify who your target audience is. This will help you determine the best format, content, and style for the video. Consider what message you want to convey and what action you want audiences to take after viewing the video. If possible, try to use real data about your audience’s needs, interests, and behavior when defining their characteristics. This will help ensure that your video production resonates with them.
Storyboarding and Script Writing
Once you know who your target audience is and what your goals are, it’s time to create a storyboard and script for the video. A storyboard is a visual representation of how each scene will flow, including shots, angles, transitions, timing, and effects for each shot. The script should include dialogue along with directions for actors or voiceovers as well as other production information like lighting and sound cues. Once the script and storyboard are complete, they should be reviewed by stakeholders to ensure alignment with objectives.
Selecting, Setting Up, and Testing Equipment
Now you’re ready to select and set up the equipment needed for your shoot. This can include cameras, lenses, gimbals and stabilization gear, recording devices, lights, microphones, and all relevant cables. Remember, it’s essential that you test your equipment prior to shooting to ensure that the settings are correct. The audio and video quality is high enough for your intended use.
Location scouting for small-scale video productions
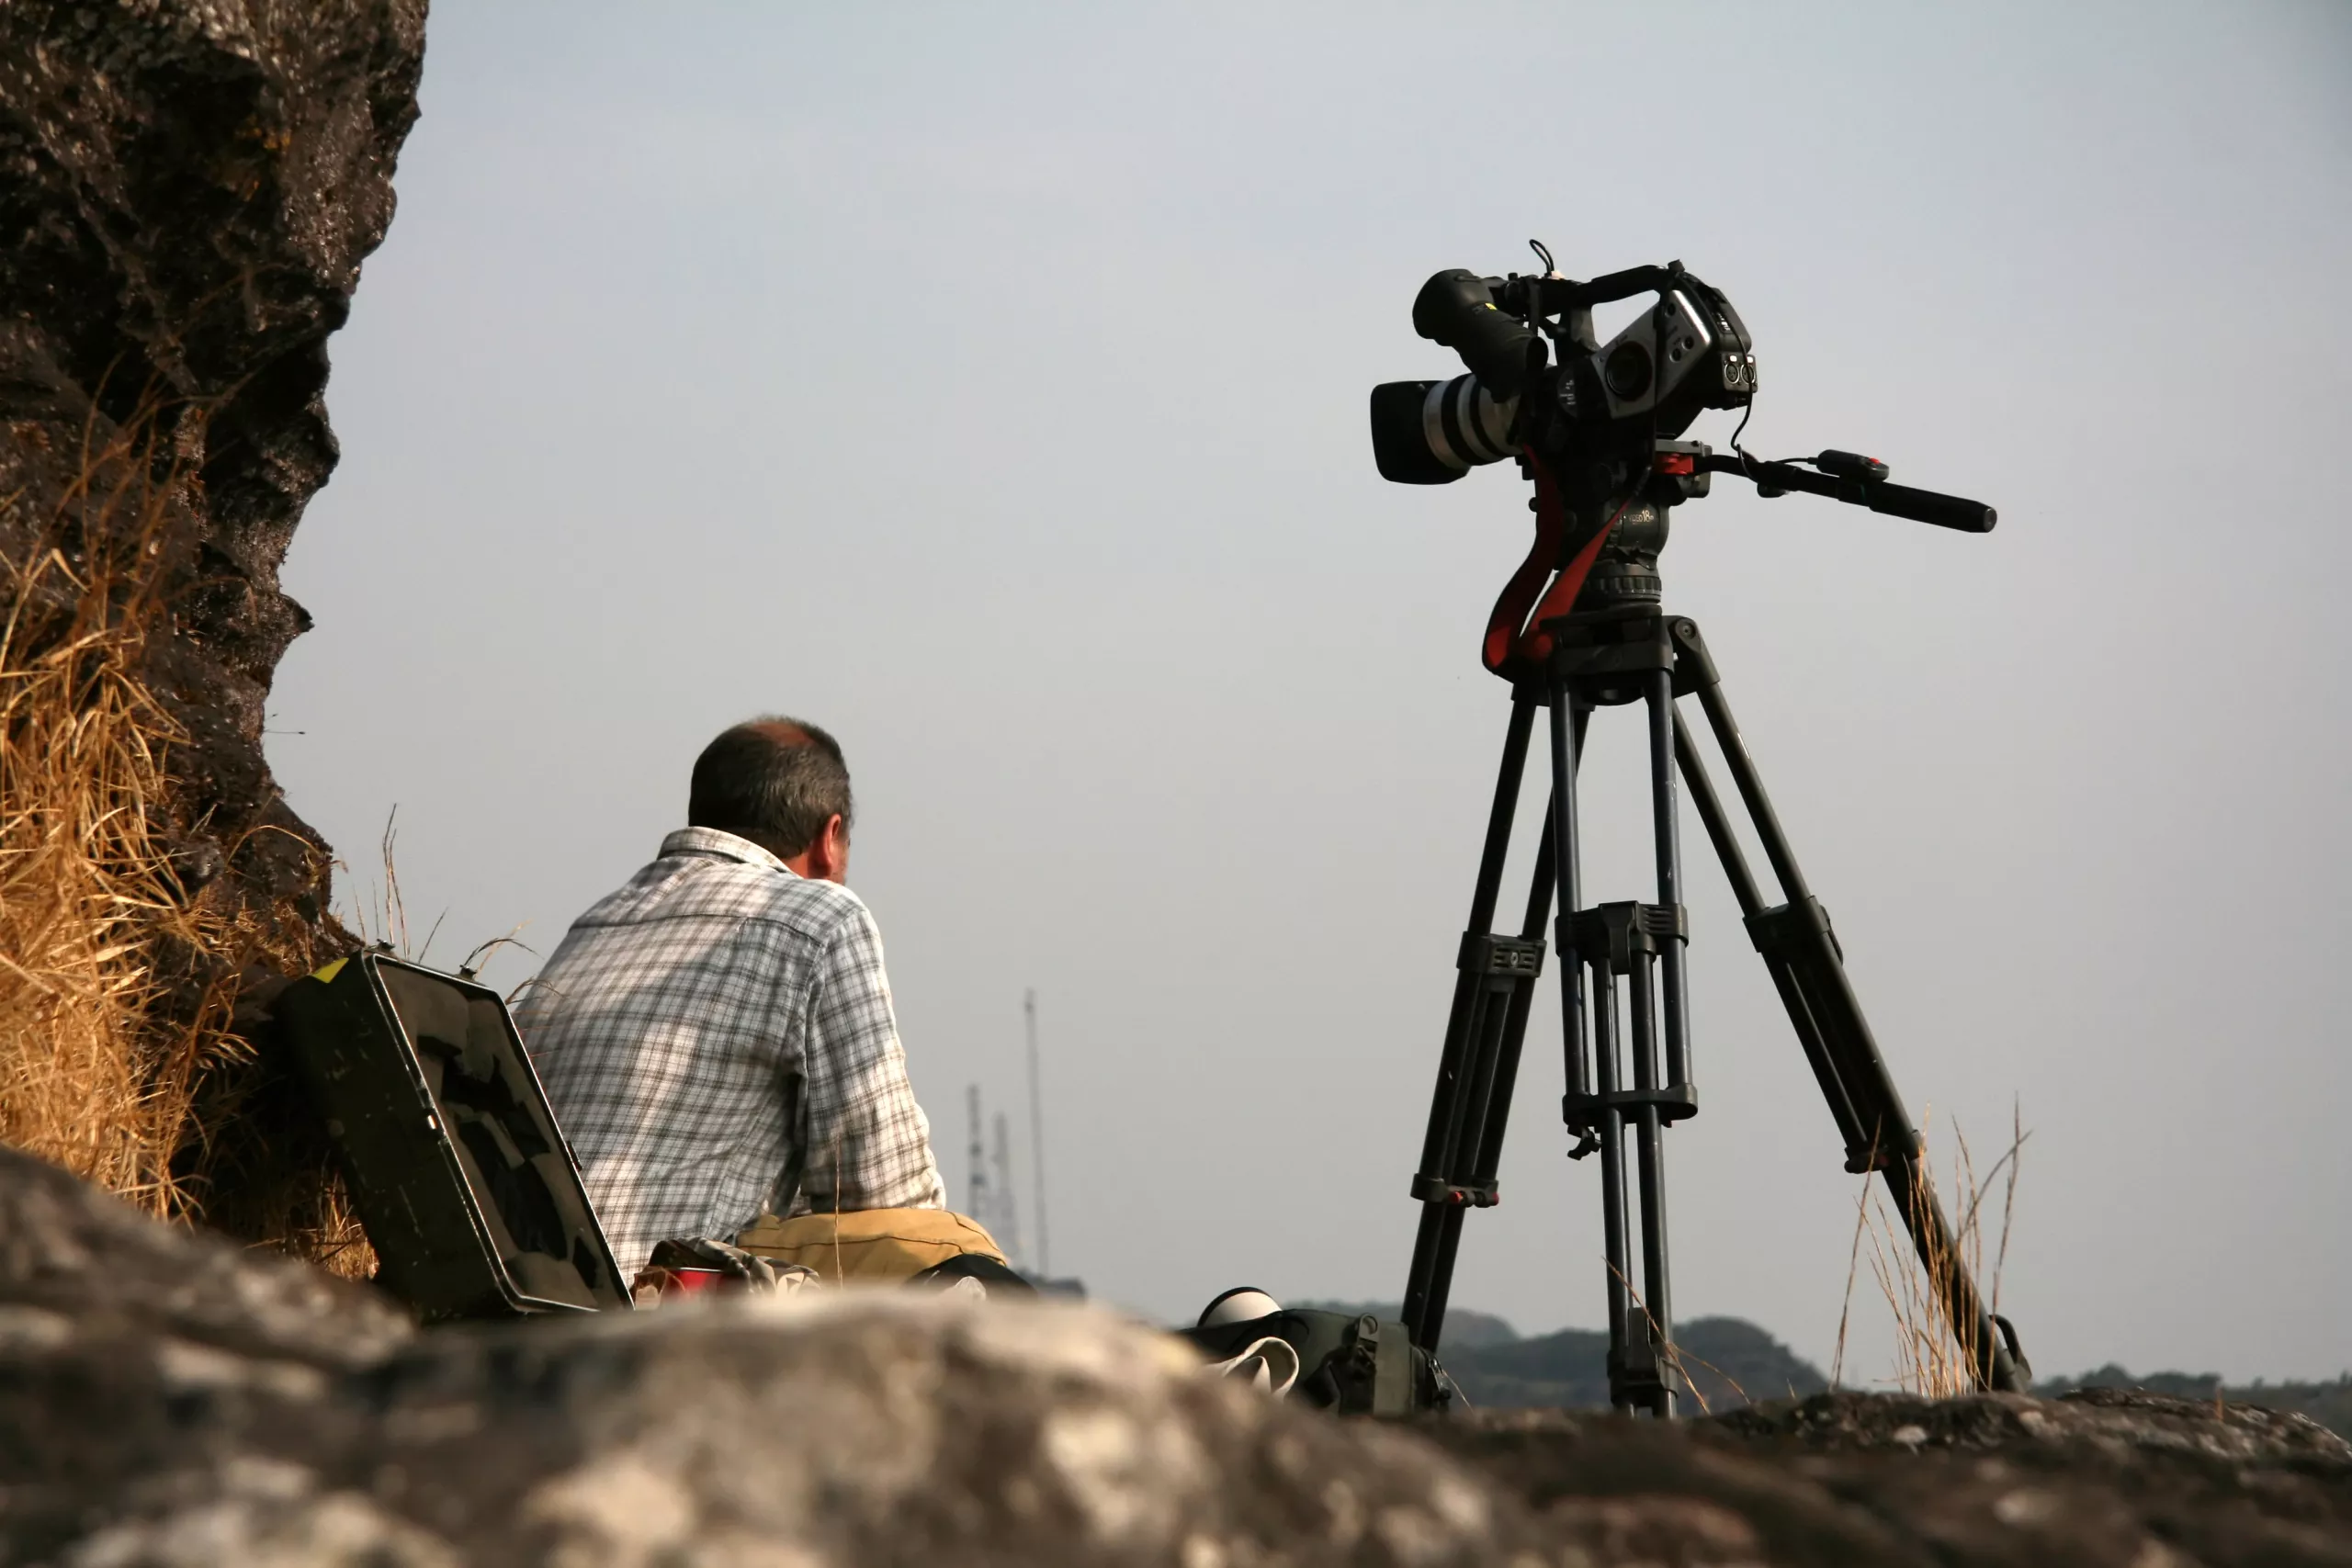
Determine the best location for the shoot; consider factors such as background scenery, noise levels, lighting, and other similar variables. If shooting an interview or dialogue with people determine the best set posed before scouting out the area. Factor in whether you should shoot indoors or put yourself in the public eye outdoors. After this brainstorming stage, start looking for production crew and equipment like cameras, lenses, audio recorders, tripods, lights, etc. Finally, begin pre and post-production activities like editing and coloring to shape your final content piece into your desired vision!
Camera setup
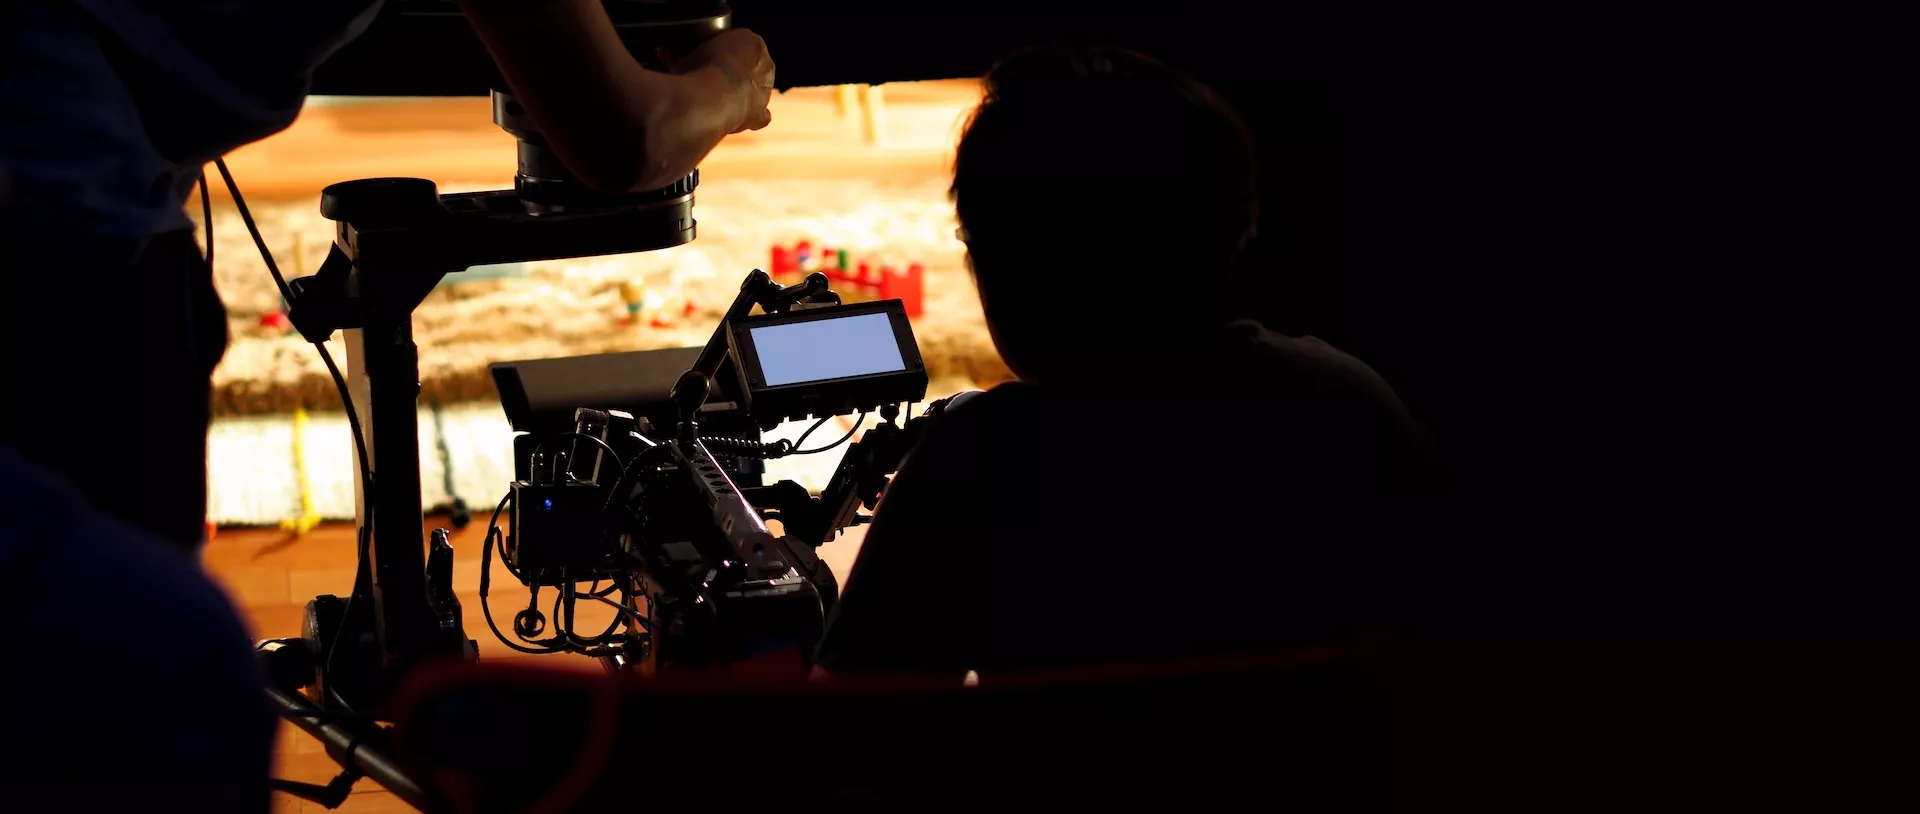
After coming up with the creative idea for your video, the next step in the video production process is setting up your camera or cameras. Your setup should suit the aspect ratio, resolution, and format you plan to record. Make sure to take test footage to ensure that you have optimized your settings accordingly. Do not forget to ensure that your framing is correct so you can capture all the visuals intended for your video.
Capturing the Footage
Once you have selected and set up your equipment, it’s time to capture your footage. Working within the shooting plan that you created in the pre-production step, you will want to guide your talent and crew to ensure that all necessary shots are captured and that they remain focused on the task at hand. Consider investing in clapperboards, or other means of labeling takes or scenes, as this will be a valuable asset during the editing process.
Video Post-Production & Editing
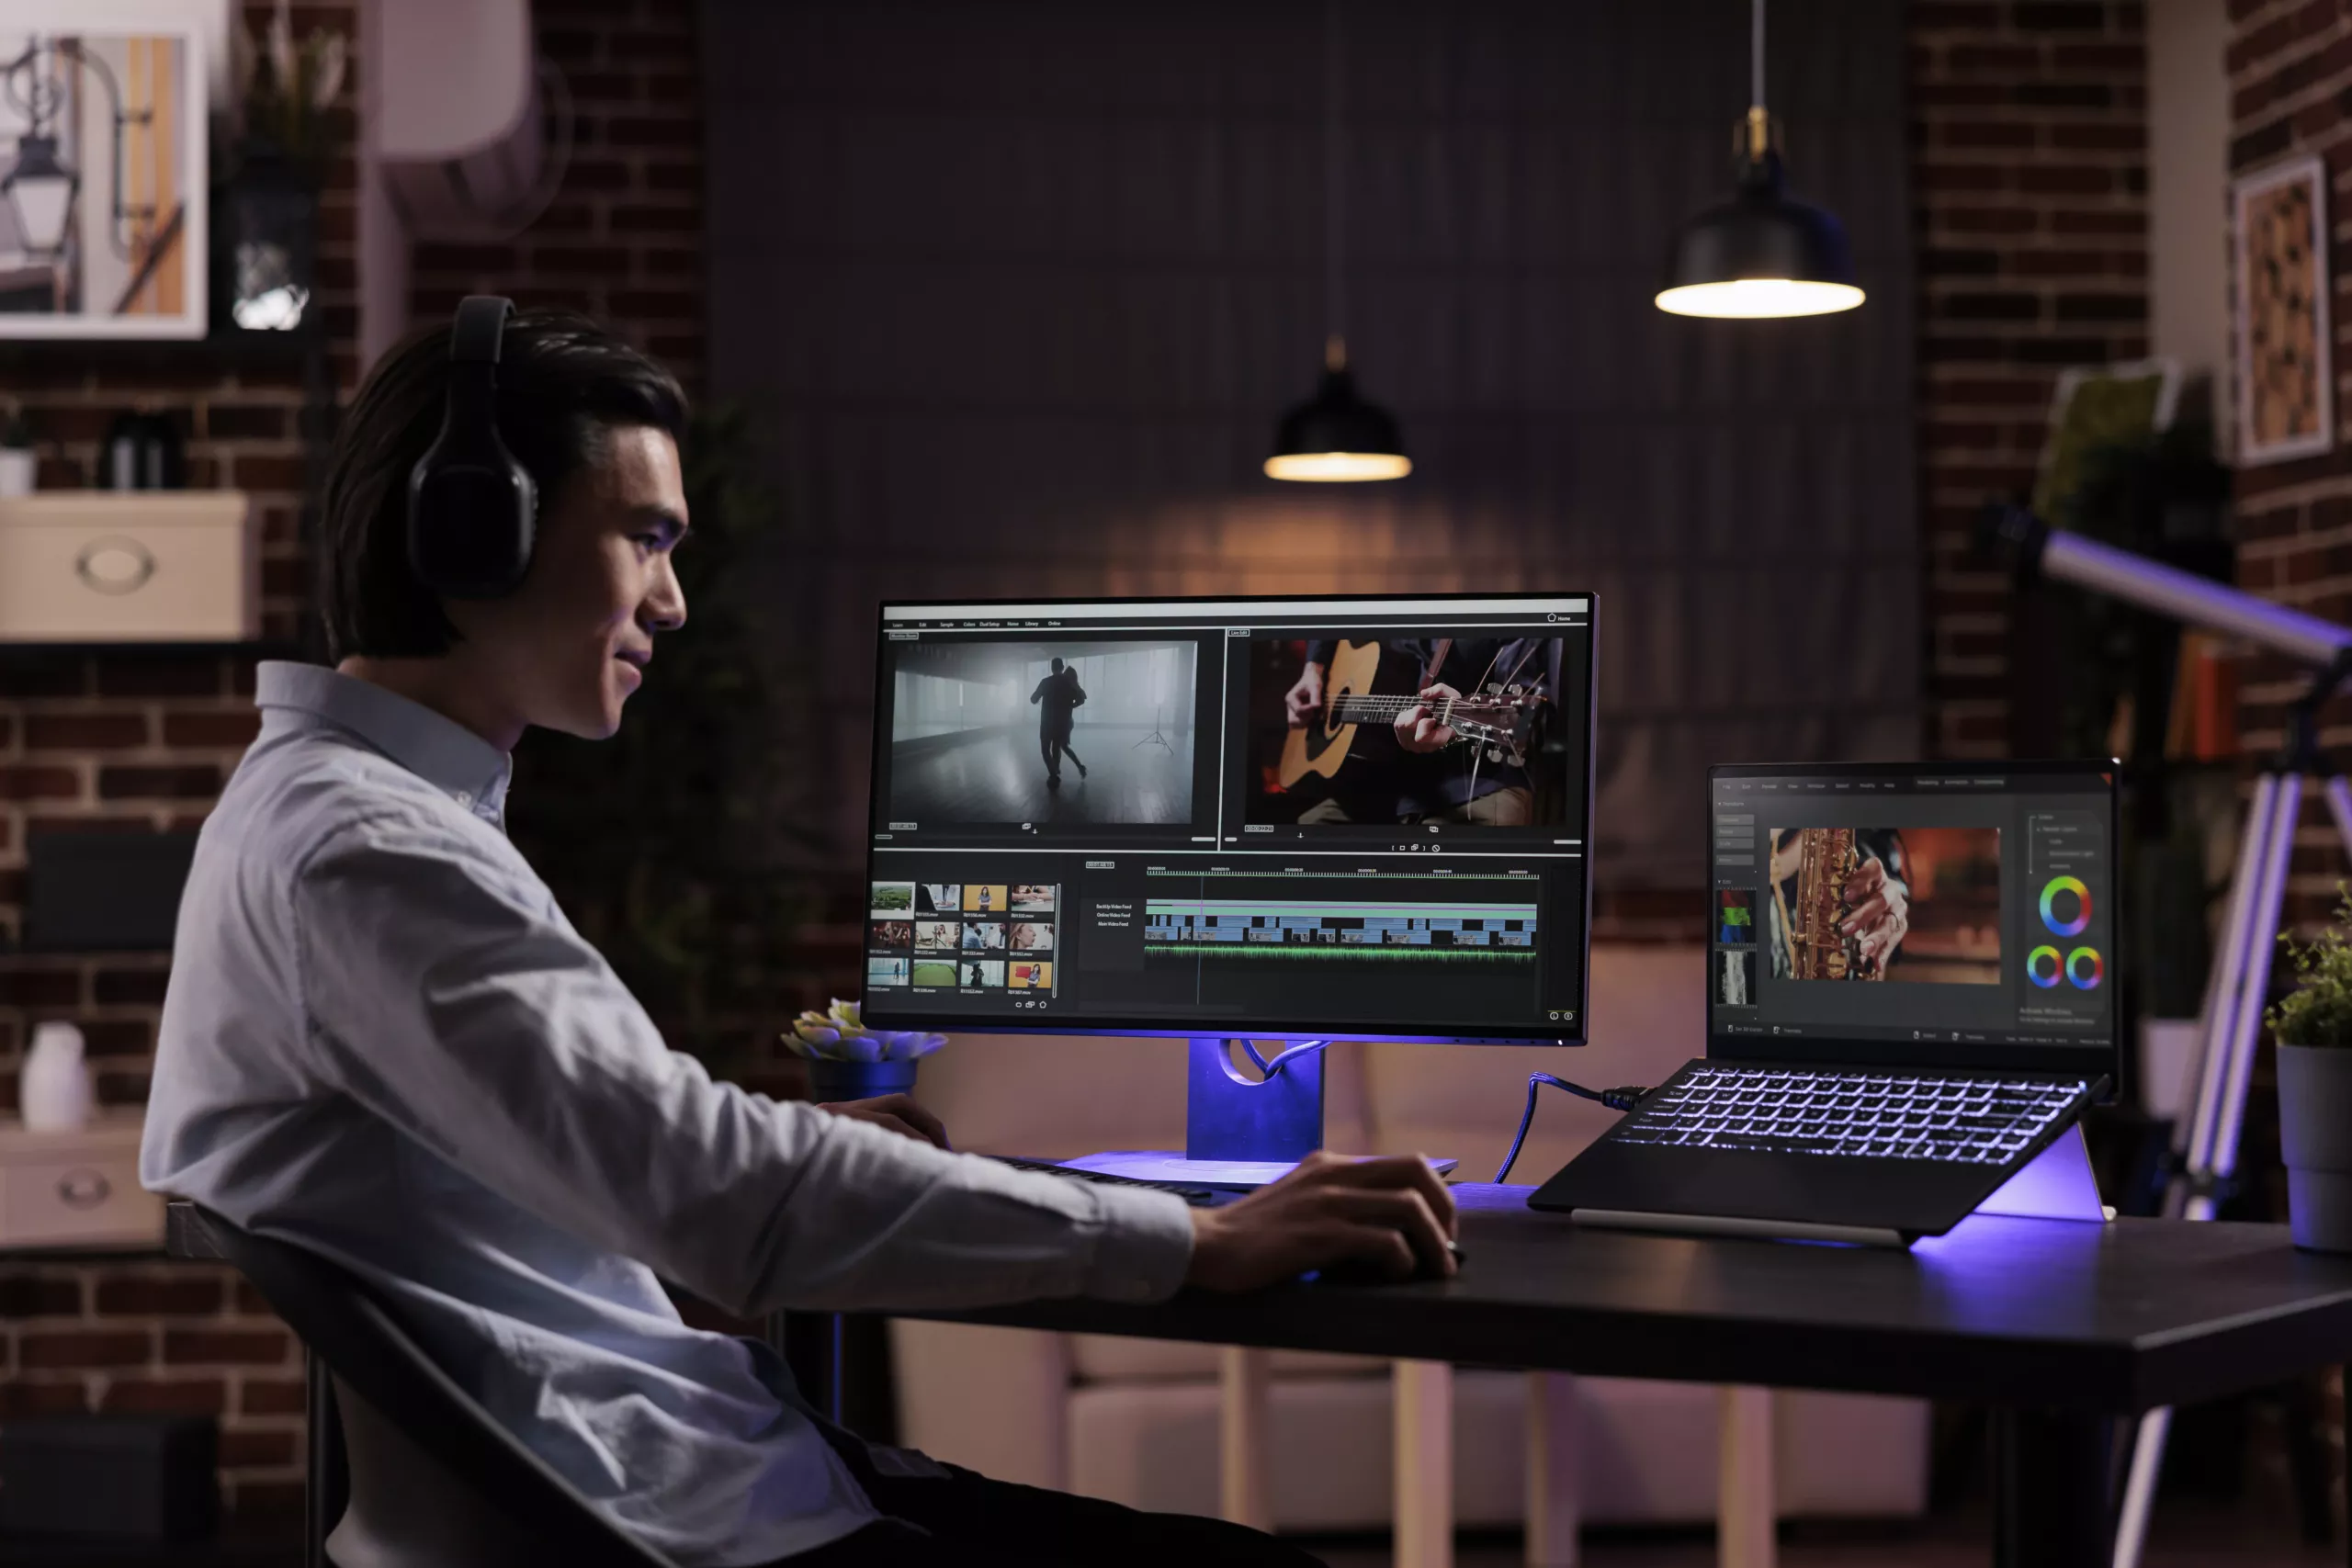
Once you have finished filming your video project, the post-production and editing process will begin. The goal of this stage is to combine the footage that was shot in pre-production into a cohesive narrative that brings the concept to life. To begin, select the best takes and arrange them in an order that makes sense with the story, then trim them down to ensure there are no unnecessary sections or moments. After that, you can add music, visual effects, and other elements like text or graphics as needed.
Footage preparation
First, gather all your footage on an external hard drive. Then, import the files into your preferred video editing program while making proxy files if necessary. Next, label and organize the footage in the editor. Additionally, sync any audio from recording devices to your footage. Finally, if you have multiple cameras, ensure that they are synced together by using timecode.
Video editing
At this phase, where all of this content will be combined into one ultimate video. Ensure that all transitions are smooth and edits occur at natural breaks in dialogue or action sequences. Finally, add any extra effects, color correct, and export for your desired format!
Color correction and color grading
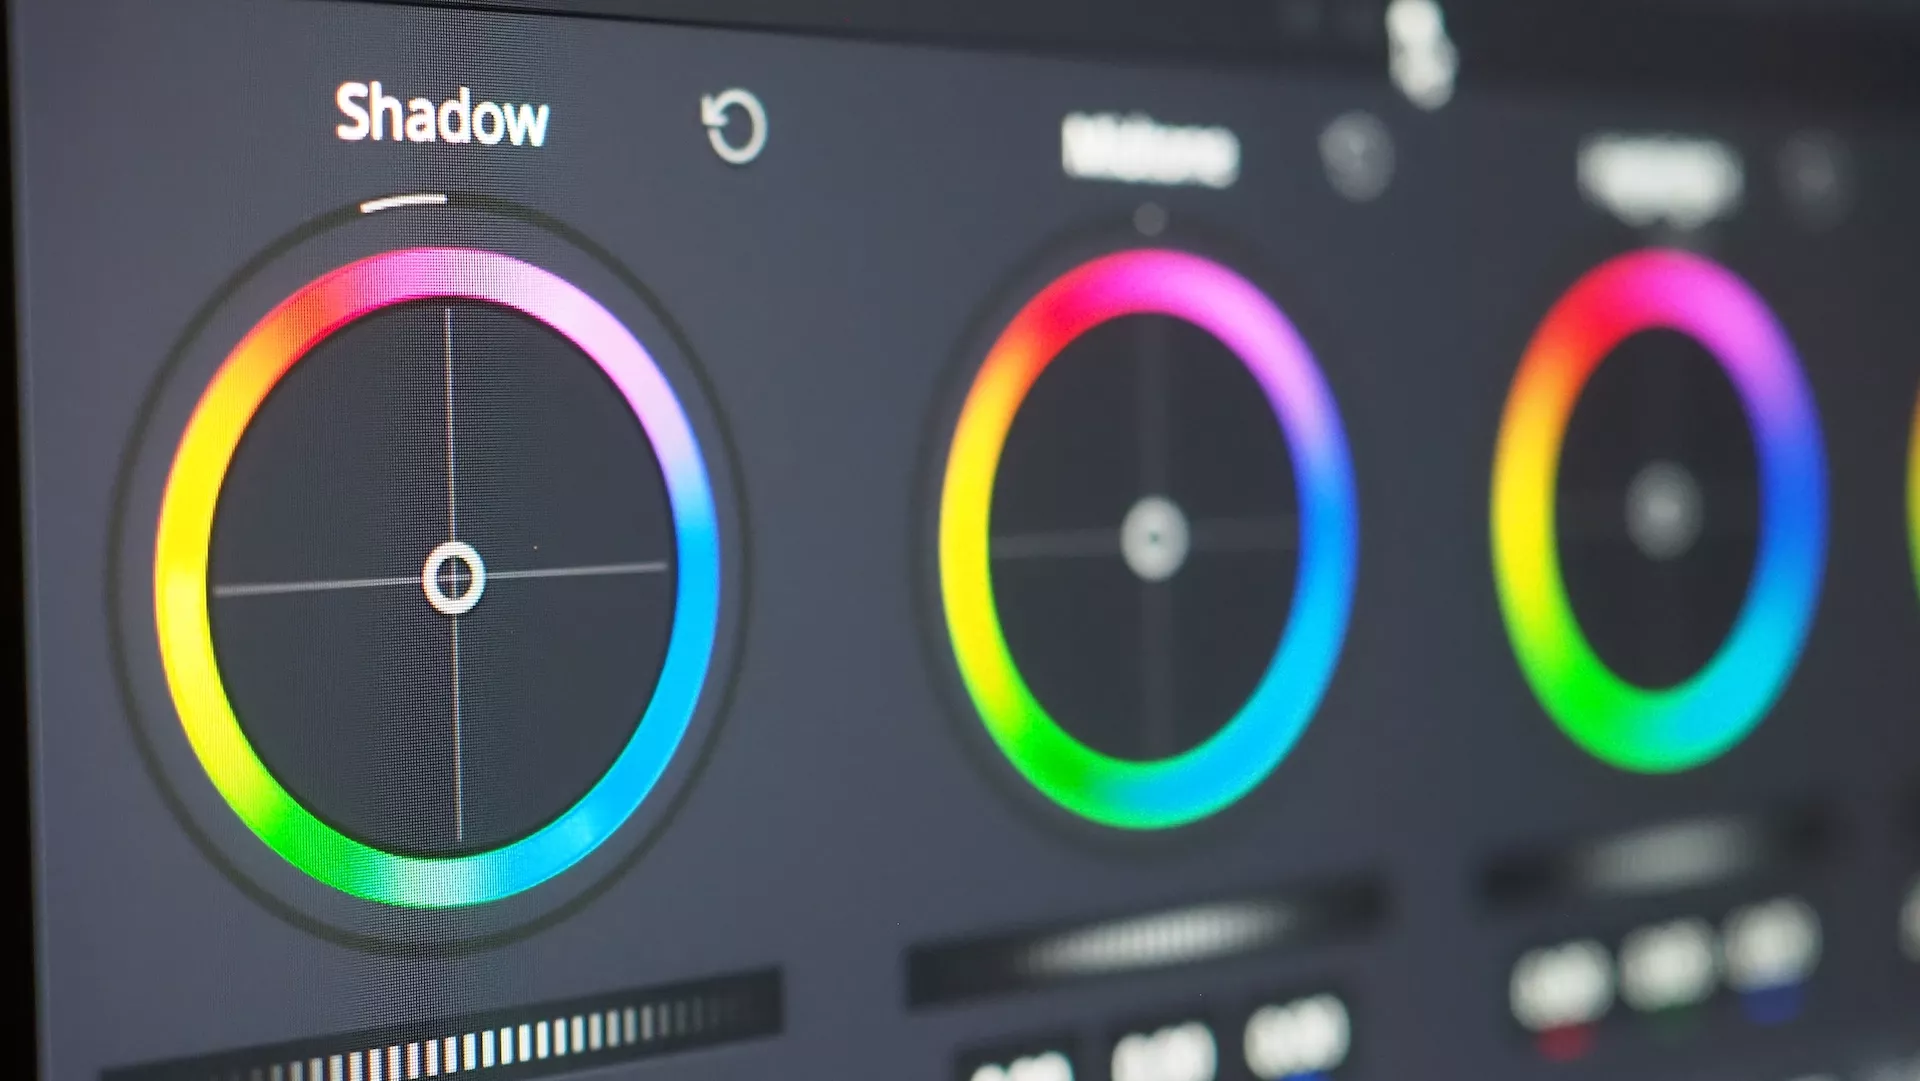
Color correction and color grading as the final stage. Although both processes may involve similar techniques, they are distinct from each other; color correction is geared more toward improving the footage’s quality, while color grading focuses more on creatively transforming a scene.
More in our blog:
Save Time During Video Production
The top-rated creative project management software for 2023
5 BEST FREE Video Editing Software


